Encodian provides two actions which enable you to convert HTML Data, a URL and HTML documents to either a PDF document or a Microsoft Word document (DOCX):
These actions are very popular, and this short post provides the following tips for the most common questions we receive from our customers via support and the Power Automate community.
Embedding data within HTML documents using standard Power Automate features requires complex expressions which also inhibit your ability to view the HTML data. Not only is this tricky to do, HTML / CSS standards support is also minimal compared to the Encodian HTML conversion actions.
The Encodian Convert – HTML to PDF action makes it very easy to interlace HTML with Flow dynamic data.
The following flow snippet shows a Flow which is triggered every time a new item is added to the SharePoint ‘Marketing Contacts‘ list;
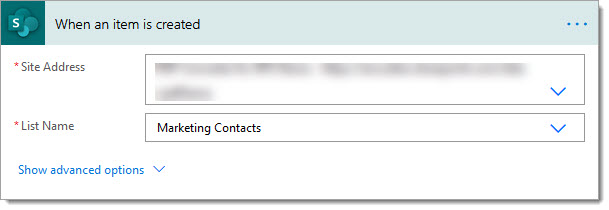
Every time this trigger event is fired I need to create a new PDF document containing information about the new contact and send as an email attachment simple!
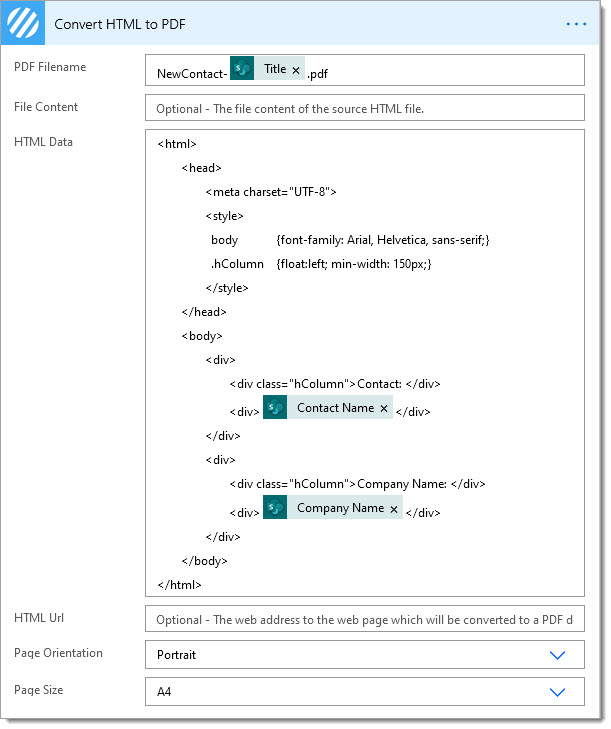
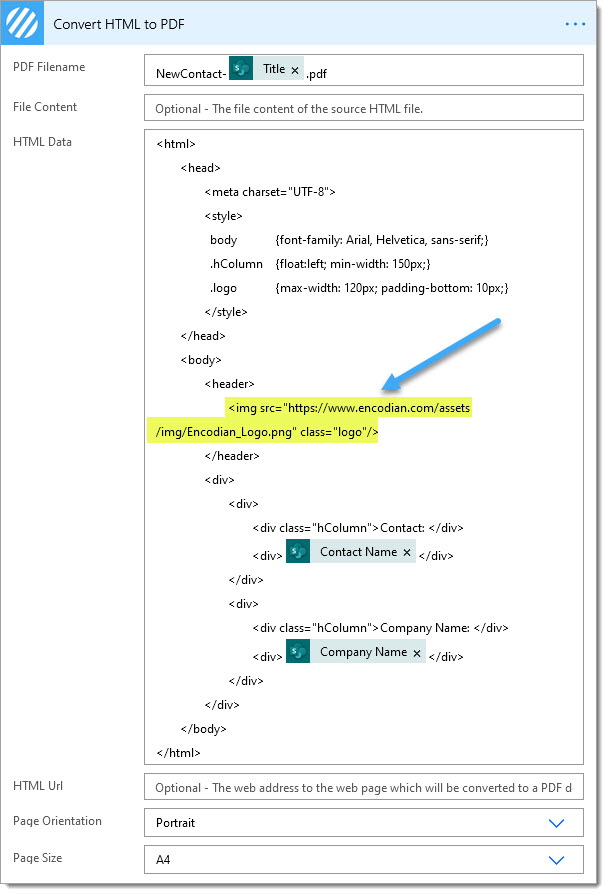
1. Add the Encodian Convert – HTML to PDF action
1.a. PDF Filename: Enter the name of the output PDF document, optionally using Flow dynamic data.
1.b. HTML Data: Enter your HTML markup

1.c. Replace the placeholder text: Select the target text, locate the field from the flow dynamic data and select
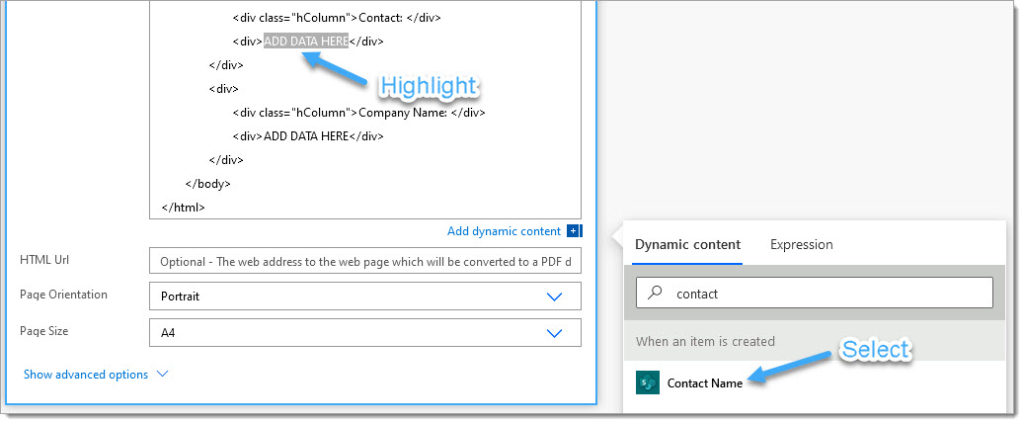
1.d. Repeat for all target fields
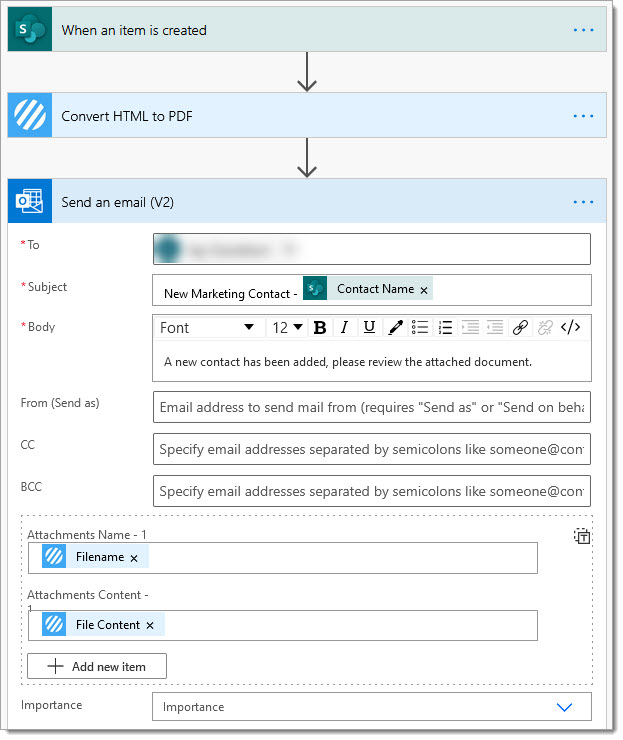
2. Add a ‘Send Email‘ and configure as required;
Building upon the previous example, we’ll show two separate options for adding images into the output document.
The easiest solution would be to add an <img> tag setting the src attribute to the URL of the image you’d like to add:
However, this approach only works where the image linked to within the URL is publicly and anonymously accessible . The Encodian connector is not authorized (By Design) to access and retrieve data from your Microsoft 365 tenant.
If you would like to add an image which is stored within your Microsoft 365 tenant (OneDrive, SharePoint, PowerApps) or another secured storage location (Box, Azure, etc.) then we need to use a DataURI following these simple steps:
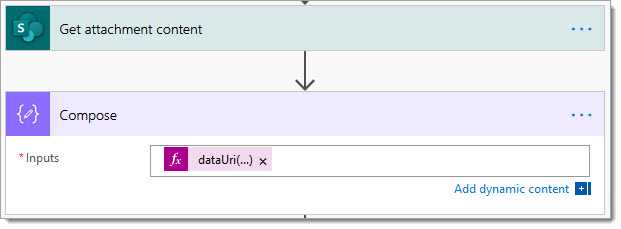
1. Add a ‘Get file content‘ action relating to the storage location of your image file and configure accordingly. For this example, I have added the ‘Get attachments‘ and the ‘Get attachment content‘ actions to get the first attachment present on the newly created list item.
Power Apps: If you are providing image files from PowerApps you can omit step 1 as the file would be provided to Power Automate encoded as a Base64 string already, skip to step 2.

The following expression is used within the ‘Get attachment content‘ actions ‘File Identifier‘ property to obtain the first attachment’s ‘File identifier‘ property: body(‘Get_attachments’)[0][‘Id’]
As per other ‘Get File Content‘ type actions, the ‘Get attachment content‘ action will return the file (Base64 encoded) and we’ll use this value to create the DataURI.
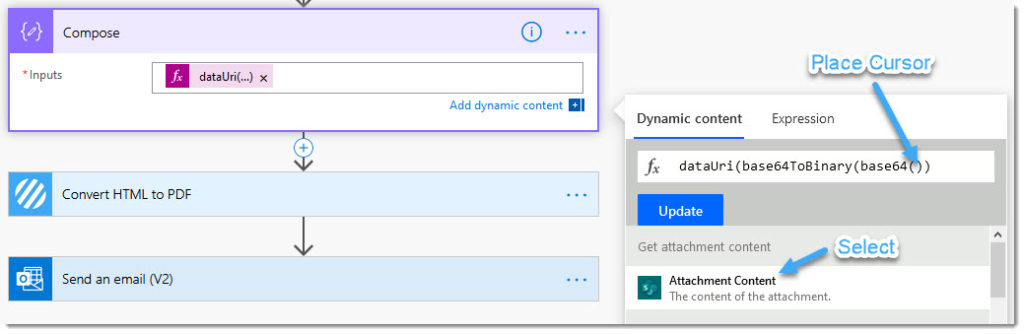
2. Add a ‘Compose‘ action
2.a. Inputs: Enter the following expression
dataUri(base64ToBinary(base64()))

2.c. Place your cursor inside the base64() parentheses and then pass your file content property.
3. Locate the target IMG tag within your HTML, change the SRC attributes value by passing the output of the compose action.
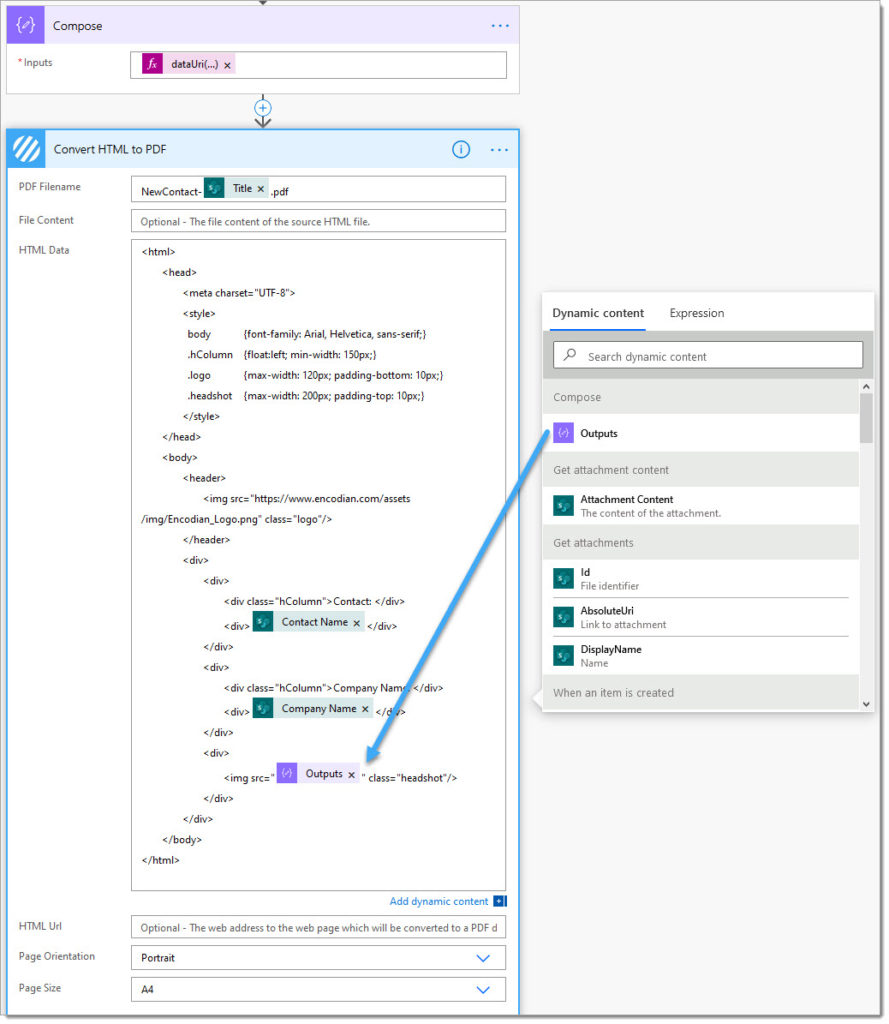
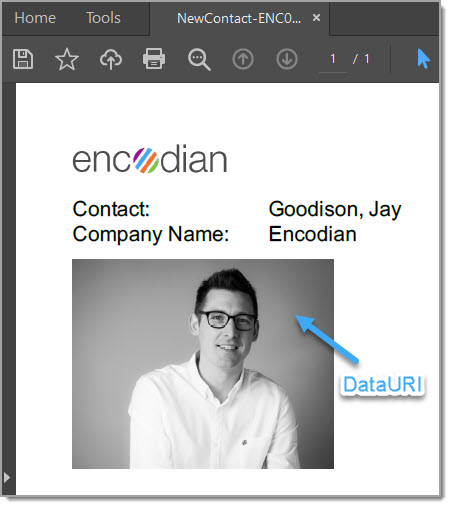
Upon executing the Flow the image will embedded within the HTML as a DataURI.
The last tip in this post covers how to create page breaks within your HTML and output document.
Inserting page breaks in HTML is completed using one of the following CSS properties:
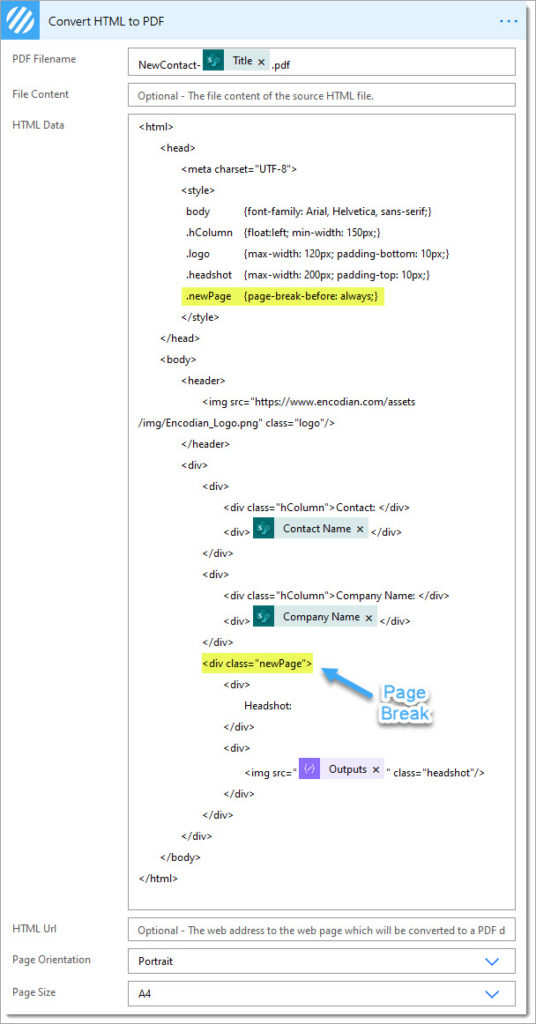
I have added the following CSS class to the existing HTML mark-up used within this article:
.newPage {page-break-before: always;}
I have then added a class reference on the relevant HTML element to insert the page break at the desired location:
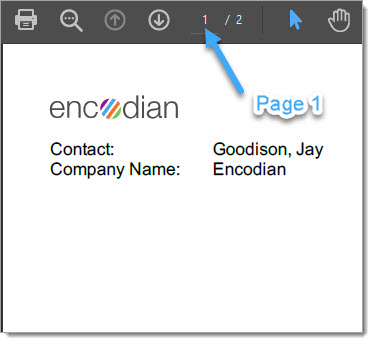
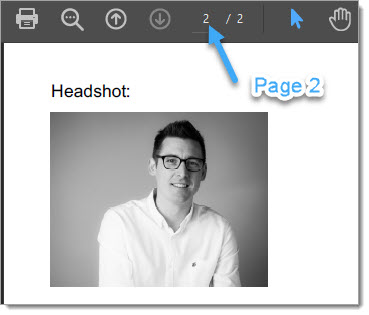
The resulting PDF document with the page breaks honored:
We hope you’ve found these quick tips useful, and as ever, please share any feedback or comments – all are welcome!
UPDATE: We’re excited to announce some significant updates to Flowr for Power Automate! As of October 2024, we’ve improved by updating action names and splitting Flowr’s central Power Automate connector into nine specialized connectors. These changes will make your workflow faster, smoother, and more efficient. The new action names are more precise and intuitive, saving you time, while the focused connectors enhance performance and flexibility. This update also helps future-proof the platform for even more powerful features. Check out our updated action names blog.
Managing Director

